If you want to share files between your Debian and Windows computers, your best option is to use Samba file sharing.
Samba is a free software re-implementation of SMB/CIFS networking protocol, originally developed by Australian Andrew Tridgell. As of version 3, Samba provides file and print services for various Microsoft Windows clients and
can integrate with a Windows Server domain, either as a Primary Domain Controller (PDC) or as a domain member. It can also be part of an Active Directory domain.Samba runs on most Unix and Unix-like systems, such as Linux, Solaris, AIX and the BSD variants, including Apple’s Mac OS X Server (which was added to the Mac OS X client in version 10.2). Samba is standard on nearly all distributions of Linux and is commonly included as a basic system service on other Unix-based operating systems as well. Samba is released under the GNU General Public License. The nameSamba comes from SMB (Server Message Block), the name of the standard protocol used by the Microsoft Windows network file system. (Wikipedia)
1-Specify the Samba Server
lets give my example server with IP 192.168.58.142
2- Install Samba
open terminal and install samba package and dependencies
$sudo apt-get install libcupsys2 samba samba-common
You will see the following questions:
Workgroup/Domain Name: <– WORKGROUP
Enter a workgroup name

Edit the smb.conf file using the command:
vi /etc/samba/smb.conf
Now activate the line security = user
[...]
# “security = user” is always a good idea. This will require a Unix account
# in this server for every user accessing the server. See
# /usr/share/doc/samba-doc/htmldocs/Samba3-HOWTO/ServerType.html
# in the samba-doc package for details.
security = user
[...]
This enables Linux system users to log in to the Samba server.
save , exit and restart Samba:
/etc/init.d/samba restart
3- Add the Samba Shares
This will add a share that will be accessible from all users.
Create the directory for sharing the files and change the group to the users group:
mkdir -p /home/samba-share/allusers
chown -R root:users /home/samba-share/allusers/
chmod -R ug+rwx,o+rx-w /home/samba-share/allusers/
At the end of the file /etc/samba/smb.conf add the following lines:
First open the smb.conf file using the command:
vi /etc/samba/smb.conf
and add:
[allusers]
comment = All Users
path = /home/samba-share/allusers
valid users = @users
force group = users
create mask = 0660
directory mask = 0771
writable = yes
If you want all users to be able to read and write to their home directories via Samba, add the following lines to /etc/samba/smb.conf:
[...]
[homes]
comment = Home Directories
browseable = no
valid users = @users
writable = yes
create mask = 0700
directory mask = 0700
save and restart Samba:
/etc/init.d/samba restart
Dont forget to set read only to noin the config file
# By default, the home directories are exported read-only. Change the# next parameter to 'no' if you want to be able to write to them. read only = no
4 Add and manage the Users
In this example, I will add a user named tom. You can add as many users as you need in the same way, just replace the username tom with the desired username in the commands.
useradd samba-user -m -G users
Set a password for samba-user in the Linux system .
-> Enter the password for the new user.
root@unixmen-debian6:~# passwd samba-userOutputEnter new UNIX password: Retype new UNIX password:
Now add the user to the Samba user database:
root@unixmen-debian6:~# smbpasswd -a samba-userOutputNew SMB password:Retype new SMB password:Added user samba-user.root@unixmen-debian6:~#
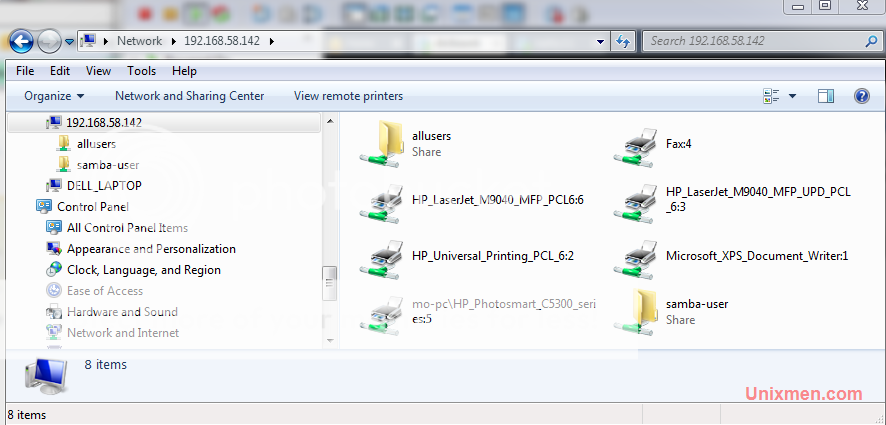
Now you should be able to log in from your Windows workstation with the file explorer (address is 192.168.58.142 or 192.168.58.142samba-user for samba-user home directory)
login to the samba server
login to you home directory

For questions please refer to our Q/A forum at : http://ask.unixmen.com
No hay comentarios:
Publicar un comentario